Smartphone cameras are relatively advanced now and get better and better every year. Anyone can use them for basic photography needs pretty well- making the jump to taking great, professional-level photos is where it gets tricky. This article will give simple tips and tricks to improve your phone photography skills. We’ll talk about basic things like how to set up a good shot, make the most of light, and maximise your phone’s advanced features.
Getting to Know Your Phone’s Camera
The first step to good smartphone photography is knowing your phone’s capabilities and how to use its features. Look through your camera’s settings to find options like changing the picture quality, using filters, and adjusting the light and focus yourself. Most phones have different modes for taking pictures, like portrait for people, landscape for places, and night mode for low light. If your phone has multiple camera lenses, learn what each one is best for. A macro lens is excellent for expansive landscapes, and the telephoto or ‘zoom’ lens is for getting close-up details from far away.
You should also learn to control where your camera focuses and how bright or dark your photos are by tapping on the screen. Some phones let you adjust the picture’s brightness before you take it, meaning you’re less limited by lighting constraints. Trying out these features and seeing what they do will help you take better pictures in any situation.
Need-to-Know Settings
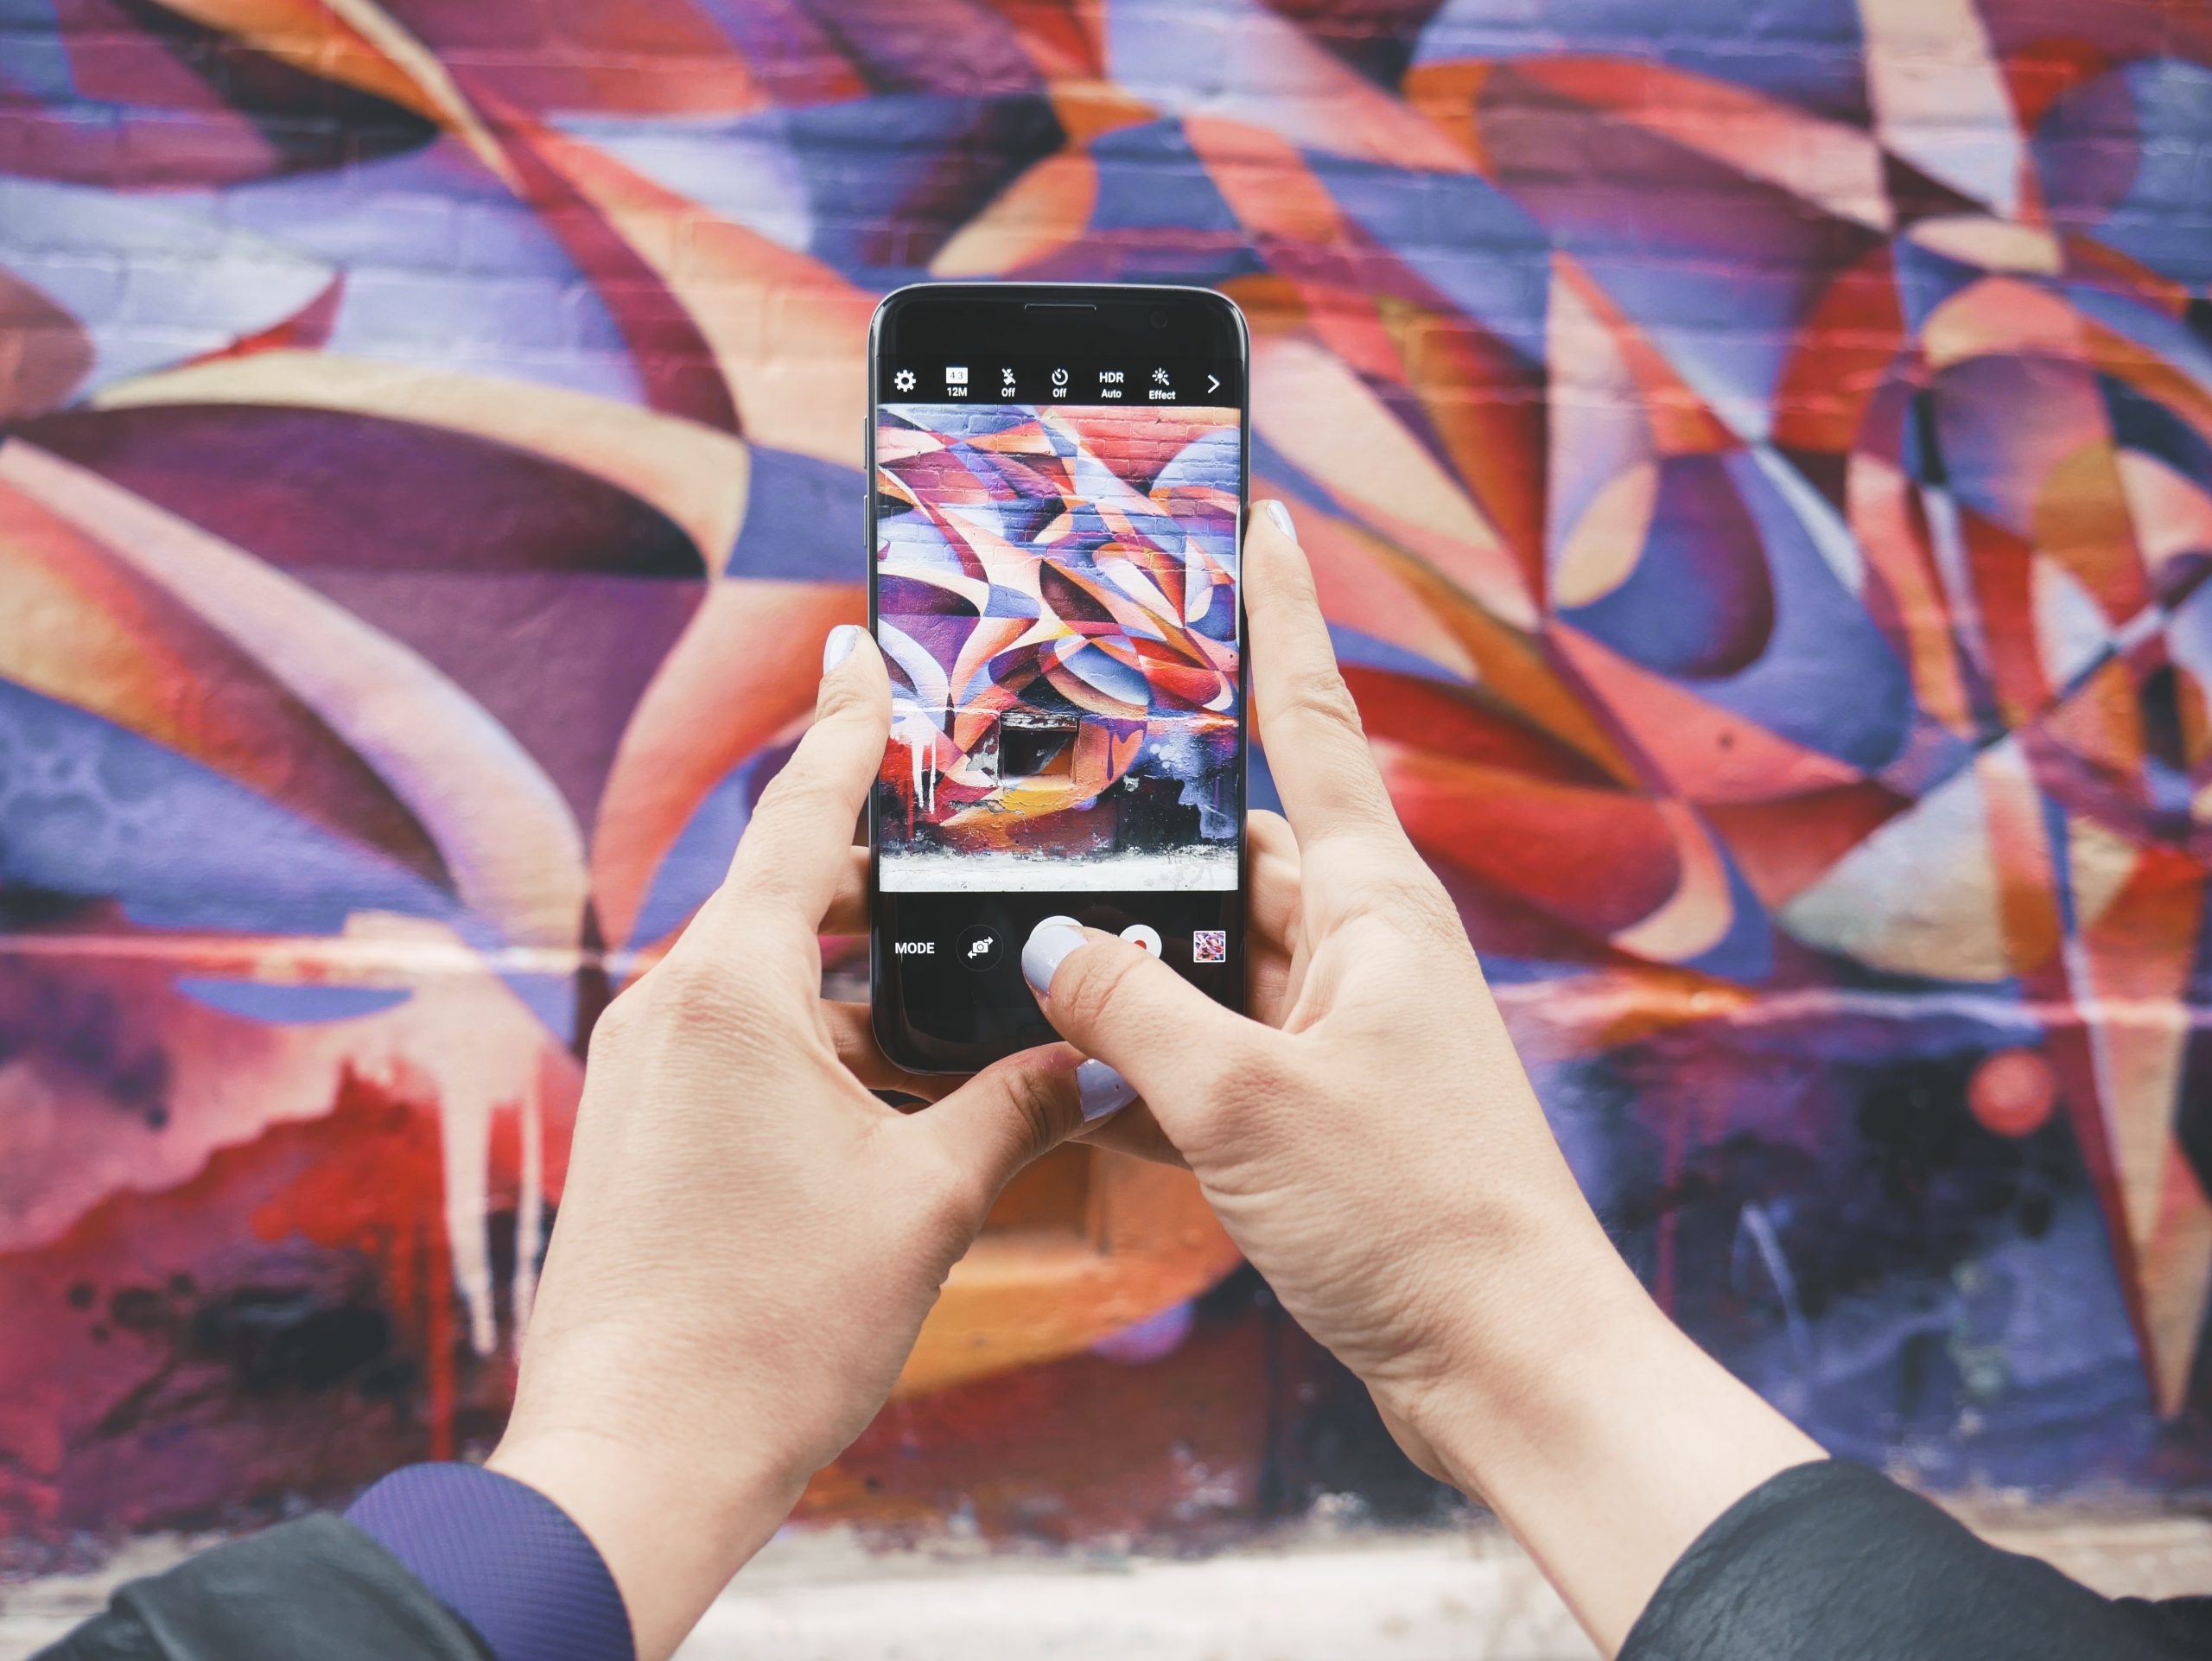
Smartphone cameras come packed with settings and features that can help you take better photos. Here’s a quick overview of some you might find helpful:
- HDR (High Dynamic Range): This feature helps balance the light and dark parts of your photo, ensuring everything is evenly lit. It’s especially helpful for high-contrast scenes, like a bright sky against a darker landscape.
- Portrait Mode: This setting blurs the background behind your subject while keeping them sharp, making the person or object stand out. It’s perfect for close-up shots of people or pets.
- Night Mode: If you’re taking photos without much light, Night Mode can make a big difference. It takes a bit longer to take the picture, but it brings out details and colours you wouldn’t see otherwise.
- Panorama: For landscape photography or big group photos, panorama lets you capture more of the scene by moving your phone across the area you want to include.
- Timer: The timer is great for when you want to be in the photo. Set it, place your phone on a stable surface, and you have time to get in the shot.
- Grid Lines: Turning on grid lines can help you line up your shots better, making it easier to follow the rule of thirds for more interesting compositions.
Each of these features can help you take photos that look more professional, but the best way to learn is by trying them out. See what each setting does and how it changes your photos. With some practice, you’ll know which ones to use to get the effect you want.

Framing and Light
Getting the lighting and framing right can really improve your smartphone photos. Natural light is your best friend, so try to take pictures with plenty of sunlight. If you’re inside, take advantage of light coming through windows. Avoid using your phone’s flash if possible; it can make photos look harsh. Instead, look for soft light that doesn’t create strong shadows.
When it comes to framing your photo, take the time to consider what you want to include. Try not to clutter the picture with too many things. Use the grid lines on your camera to help place your subject in a good spot, usually off-centre, for a more interesting photo. If you’re taking a picture of someone, make sure you’re at eye level to create a natural perspective.
Make sure the background doesn’t distract from the main subject of your photo too much. Sometimes, moving just a step to the side can make a big difference in how the background looks.
Zooming and Angling
Zooming should be done with caution. Instead of using your phone’s digital zoom, which can make your photos look blurry, try to get closer to your subject physically. If your phone has an optical zoom, like a telephoto lens, that’s a better option because it maintains the quality of your photo.
Angling your shots can add interest and perspective. Don’t just take photos from eye level; try different heights and angles. Getting down low can make your subject look taller, while taking a photo from above can offer a more artsy viewpoint. Experiment with tilting your phone to see how it changes the composition.
When you’re thinking about angles, also consider the background and how it interacts with your subject. Sometimes, a slight change in your position can turn a good photo into a great one by aligning elements in the frame in a more aesthetically pleasing.
Keeping Your Phone Steady
Keeping your phone steady is key to taking clear, sharp photos. Hold your phone with both hands. Placing your elbows against your body can provide extra stability. If you’re taking a picture with one hand, try to find something to lean on, like a wall or a tree, to steady yourself. When taking a landscape photo, use the timer feature on your camera. This allows you to press the shutter button and then take your hand off the phone, reducing the chance of moving it at the wrong time.
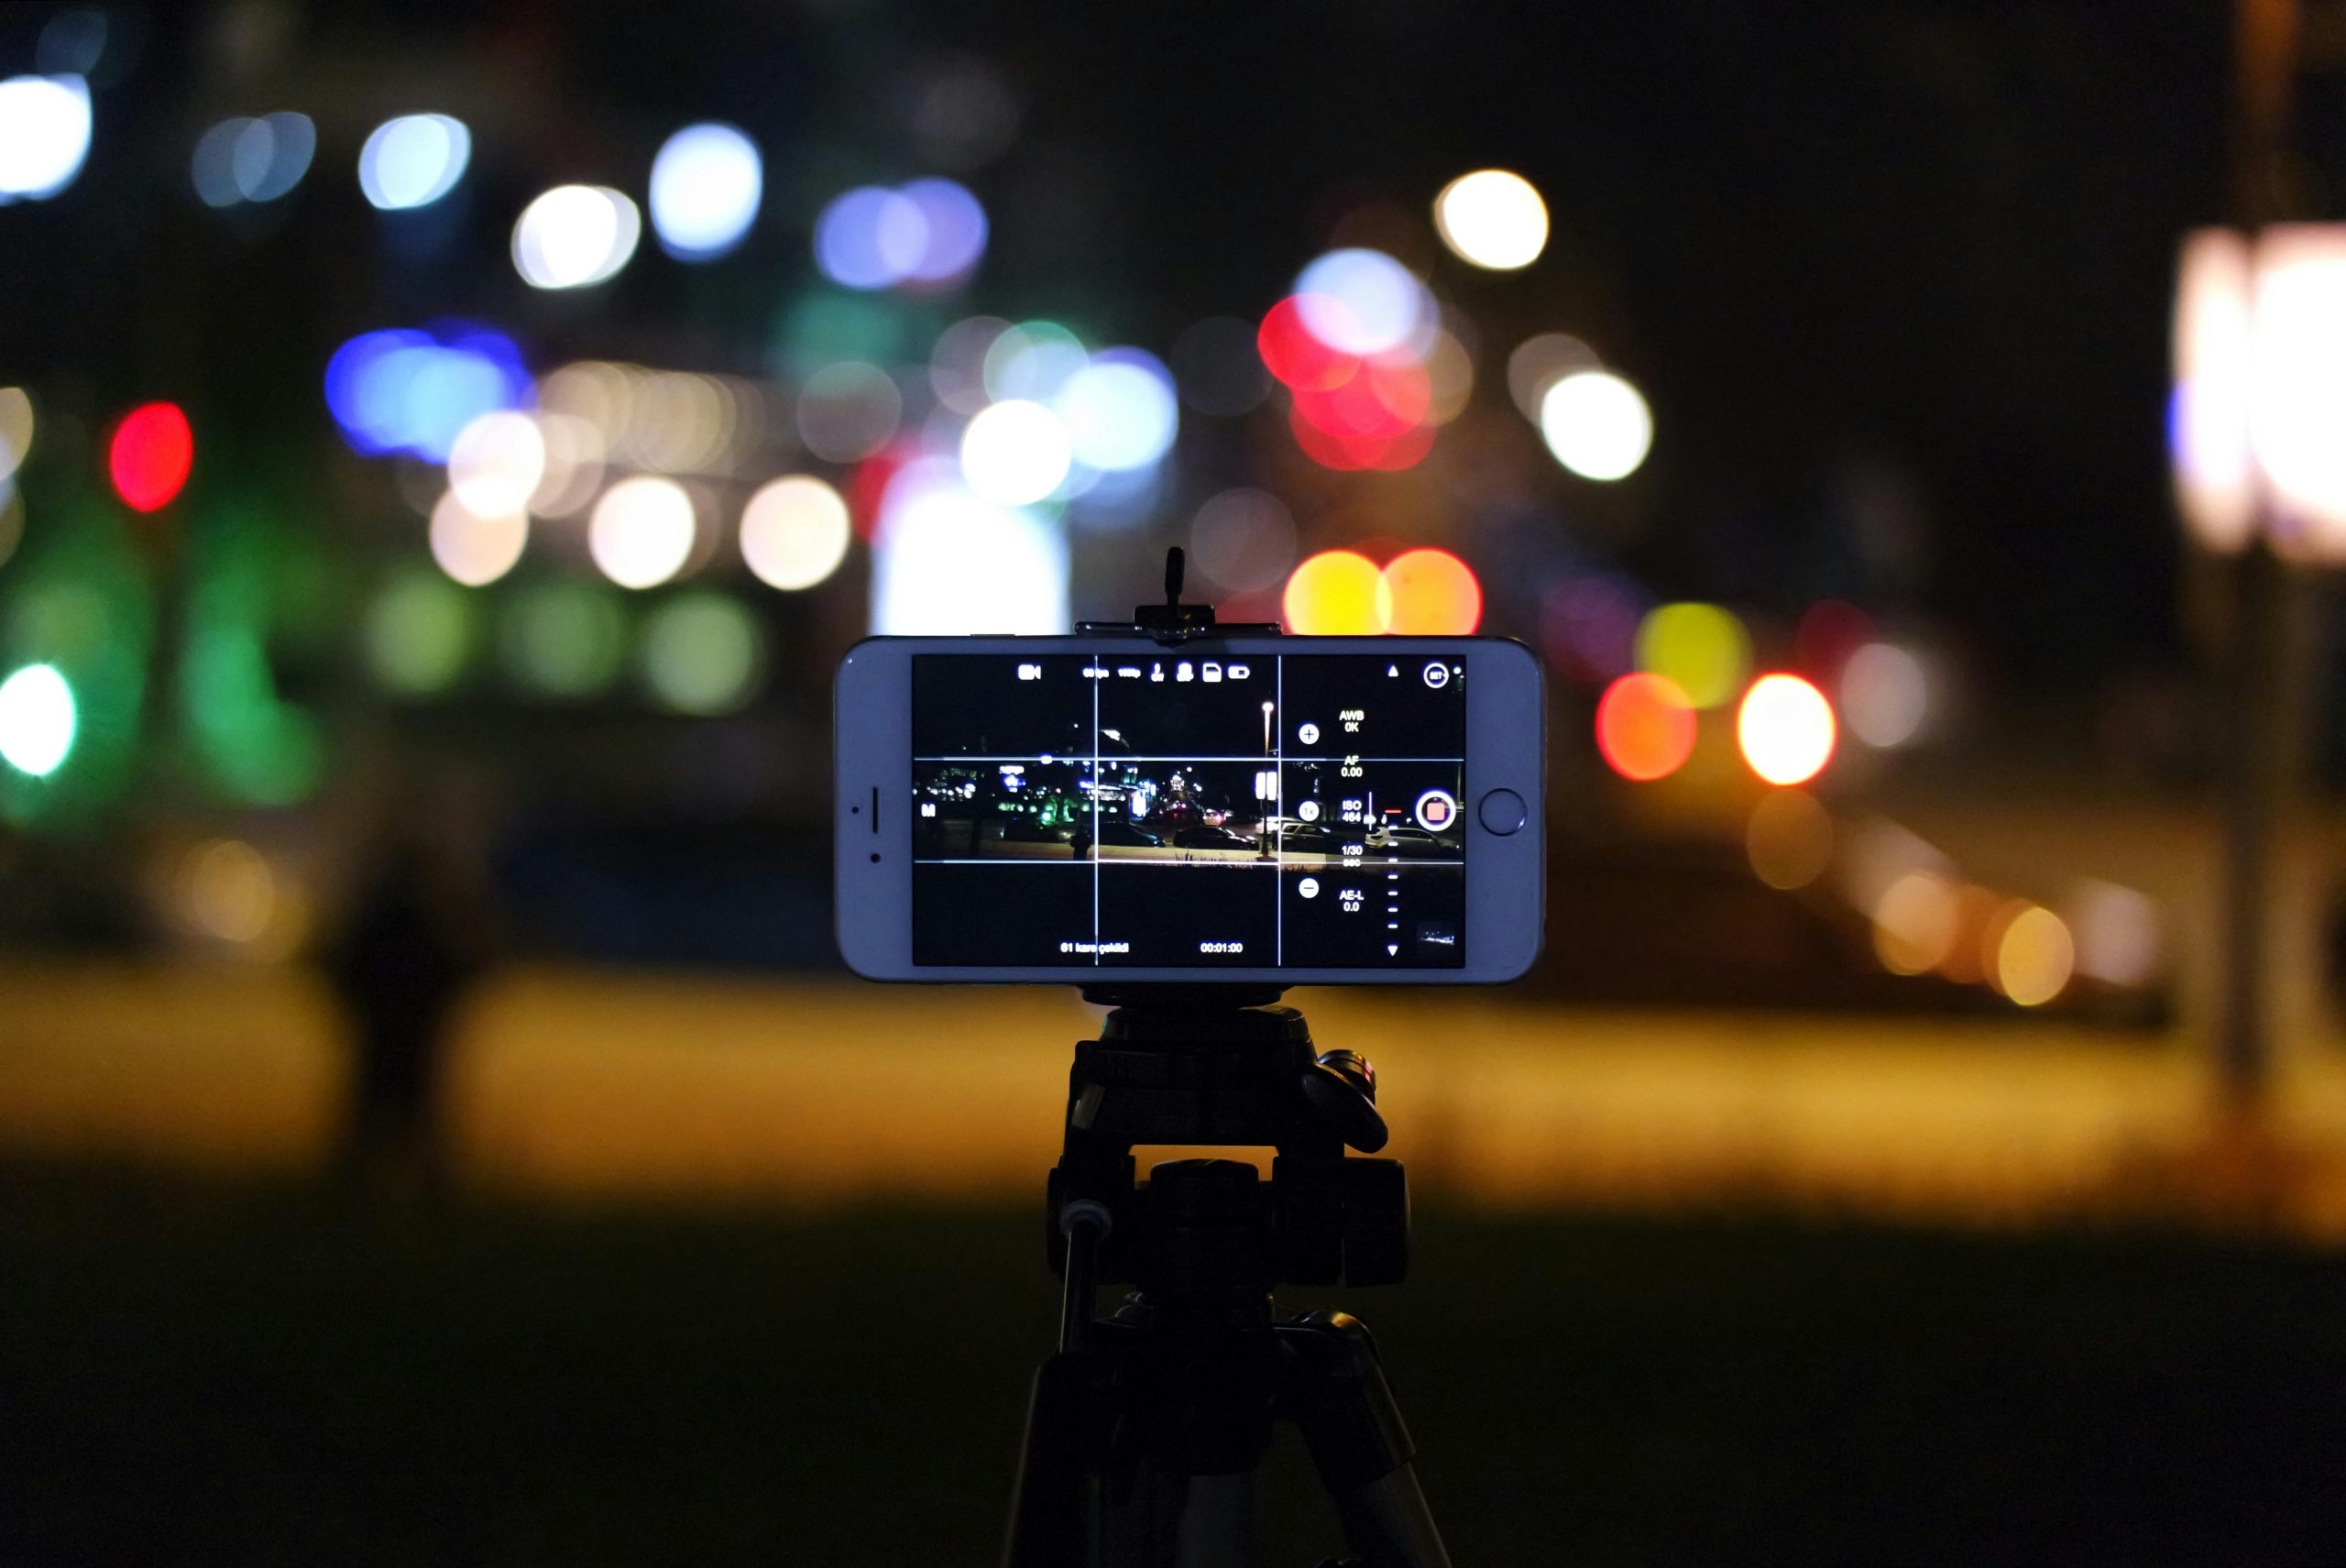
For even more stability, consider investing in a tripod compatible with your smartphone. There are heaps of affordable options available that can fold up small enough to fit in your bag. Some tripods come with a Bluetooth shutter remote, letting you take photos from a distance without touching your phone at all.
Using Portrait Mode for Depth
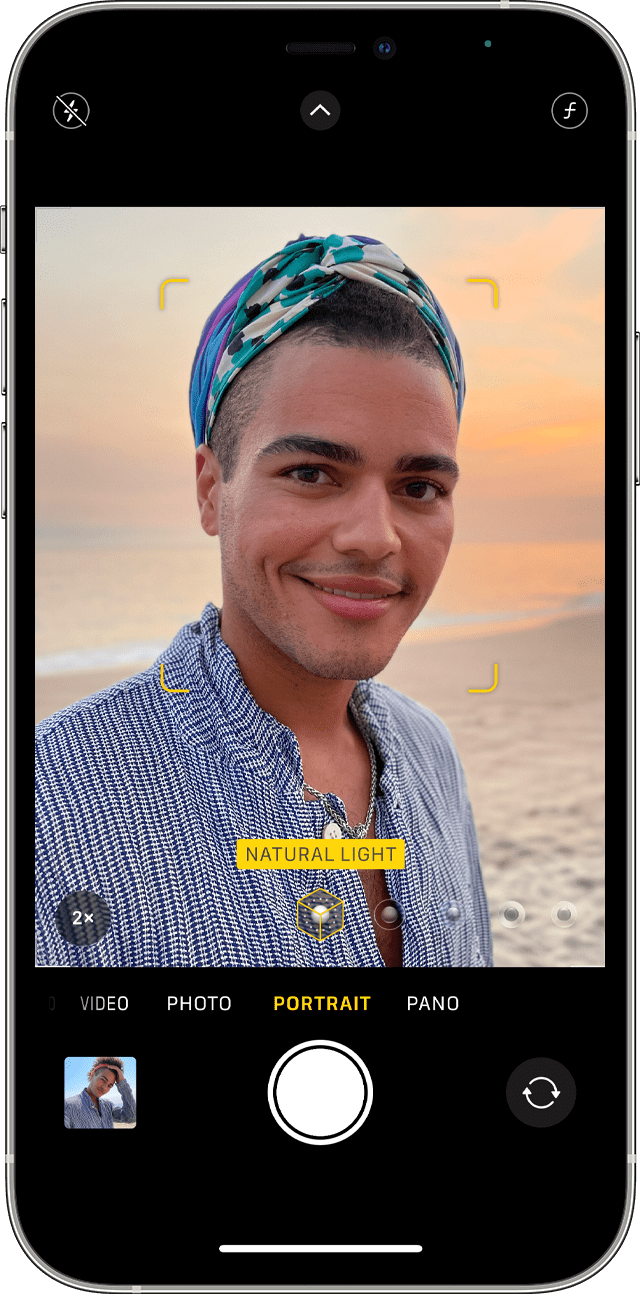
Using portrait mode on your iPhone is a great way to add depth to your photos, making the subject stand out by blurring the background. It’s perfect for photos of people or pets, but you can also use it for objects to give your photo a professional look. To get the best results, make sure your subject is well-lit and stands a few feet away from the background. This distance helps create a more pronounced blur effect.
When you select portrait mode, your phone may give you instructions or suggestions to improve the shot, like moving closer or farther away. Pay attention to these prompts to ensure the camera can properly apply the effect. After taking the photo, some phones let you adjust the level of background blur in the camera app. Experiment with different levels to see what looks best for the image you’re trying to capture.
Trying Out the Rule of Thirds
Trying out the rule of thirds is a simple yet effective way to make your photos more interesting. This principle involves dividing your image into nine equal parts by drawing two horizontal and two vertical lines. Placing your subject along these lines or at their intersections can create a more balanced and engaging photo.
To use the rule of thirds, turn on the grid lines in your camera app. These lines will appear on your screen, helping you to align your shot according to the rule. When framing your photo, try placing the main point of interest — like a person’s eyes in a portrait, a tree in a landscape, or a building in a cityscape — near one of the intersections of the grid lines.

The rule of thirds works because it encourages you to move the subject away from the centre of the frame, which is where we naturally tend to place it. This slight adjustment can make the photo feel more dynamic and give the viewer’s eye a path to follow.
Experiment with the rule of thirds in different types of photos. You might find that it doesn’t always suit every shot, but it’s a great starting point for composing your images. As you get more comfortable with photography, you’ll learn when to follow this rule and when to break it for creative effect.
Editing Your Shots Right
Editing your shots right can turn a good photo into a great one. With a few simple tweaks, you can improve the look of your images. Here’s how to get started:
- Crop for composition. Sometimes, cutting parts of your photo can make the main subject stand out. Crop your shots to remove distractions or to follow the rule of thirds.
- Raising the brightness can make your photos clearer. This is especially so if you took them in low light. Adjusting the contrast can add depth to your images, making them pop.
- If the colours in your photo look off, use the colour adjustment tools. Depending on the mood you want to convey, you can make your photo warmer or cooler.
- A slight sharpening can make your photo look more detailed. Be careful not to overdo it, as too much sharpening can make the image look unnatural.
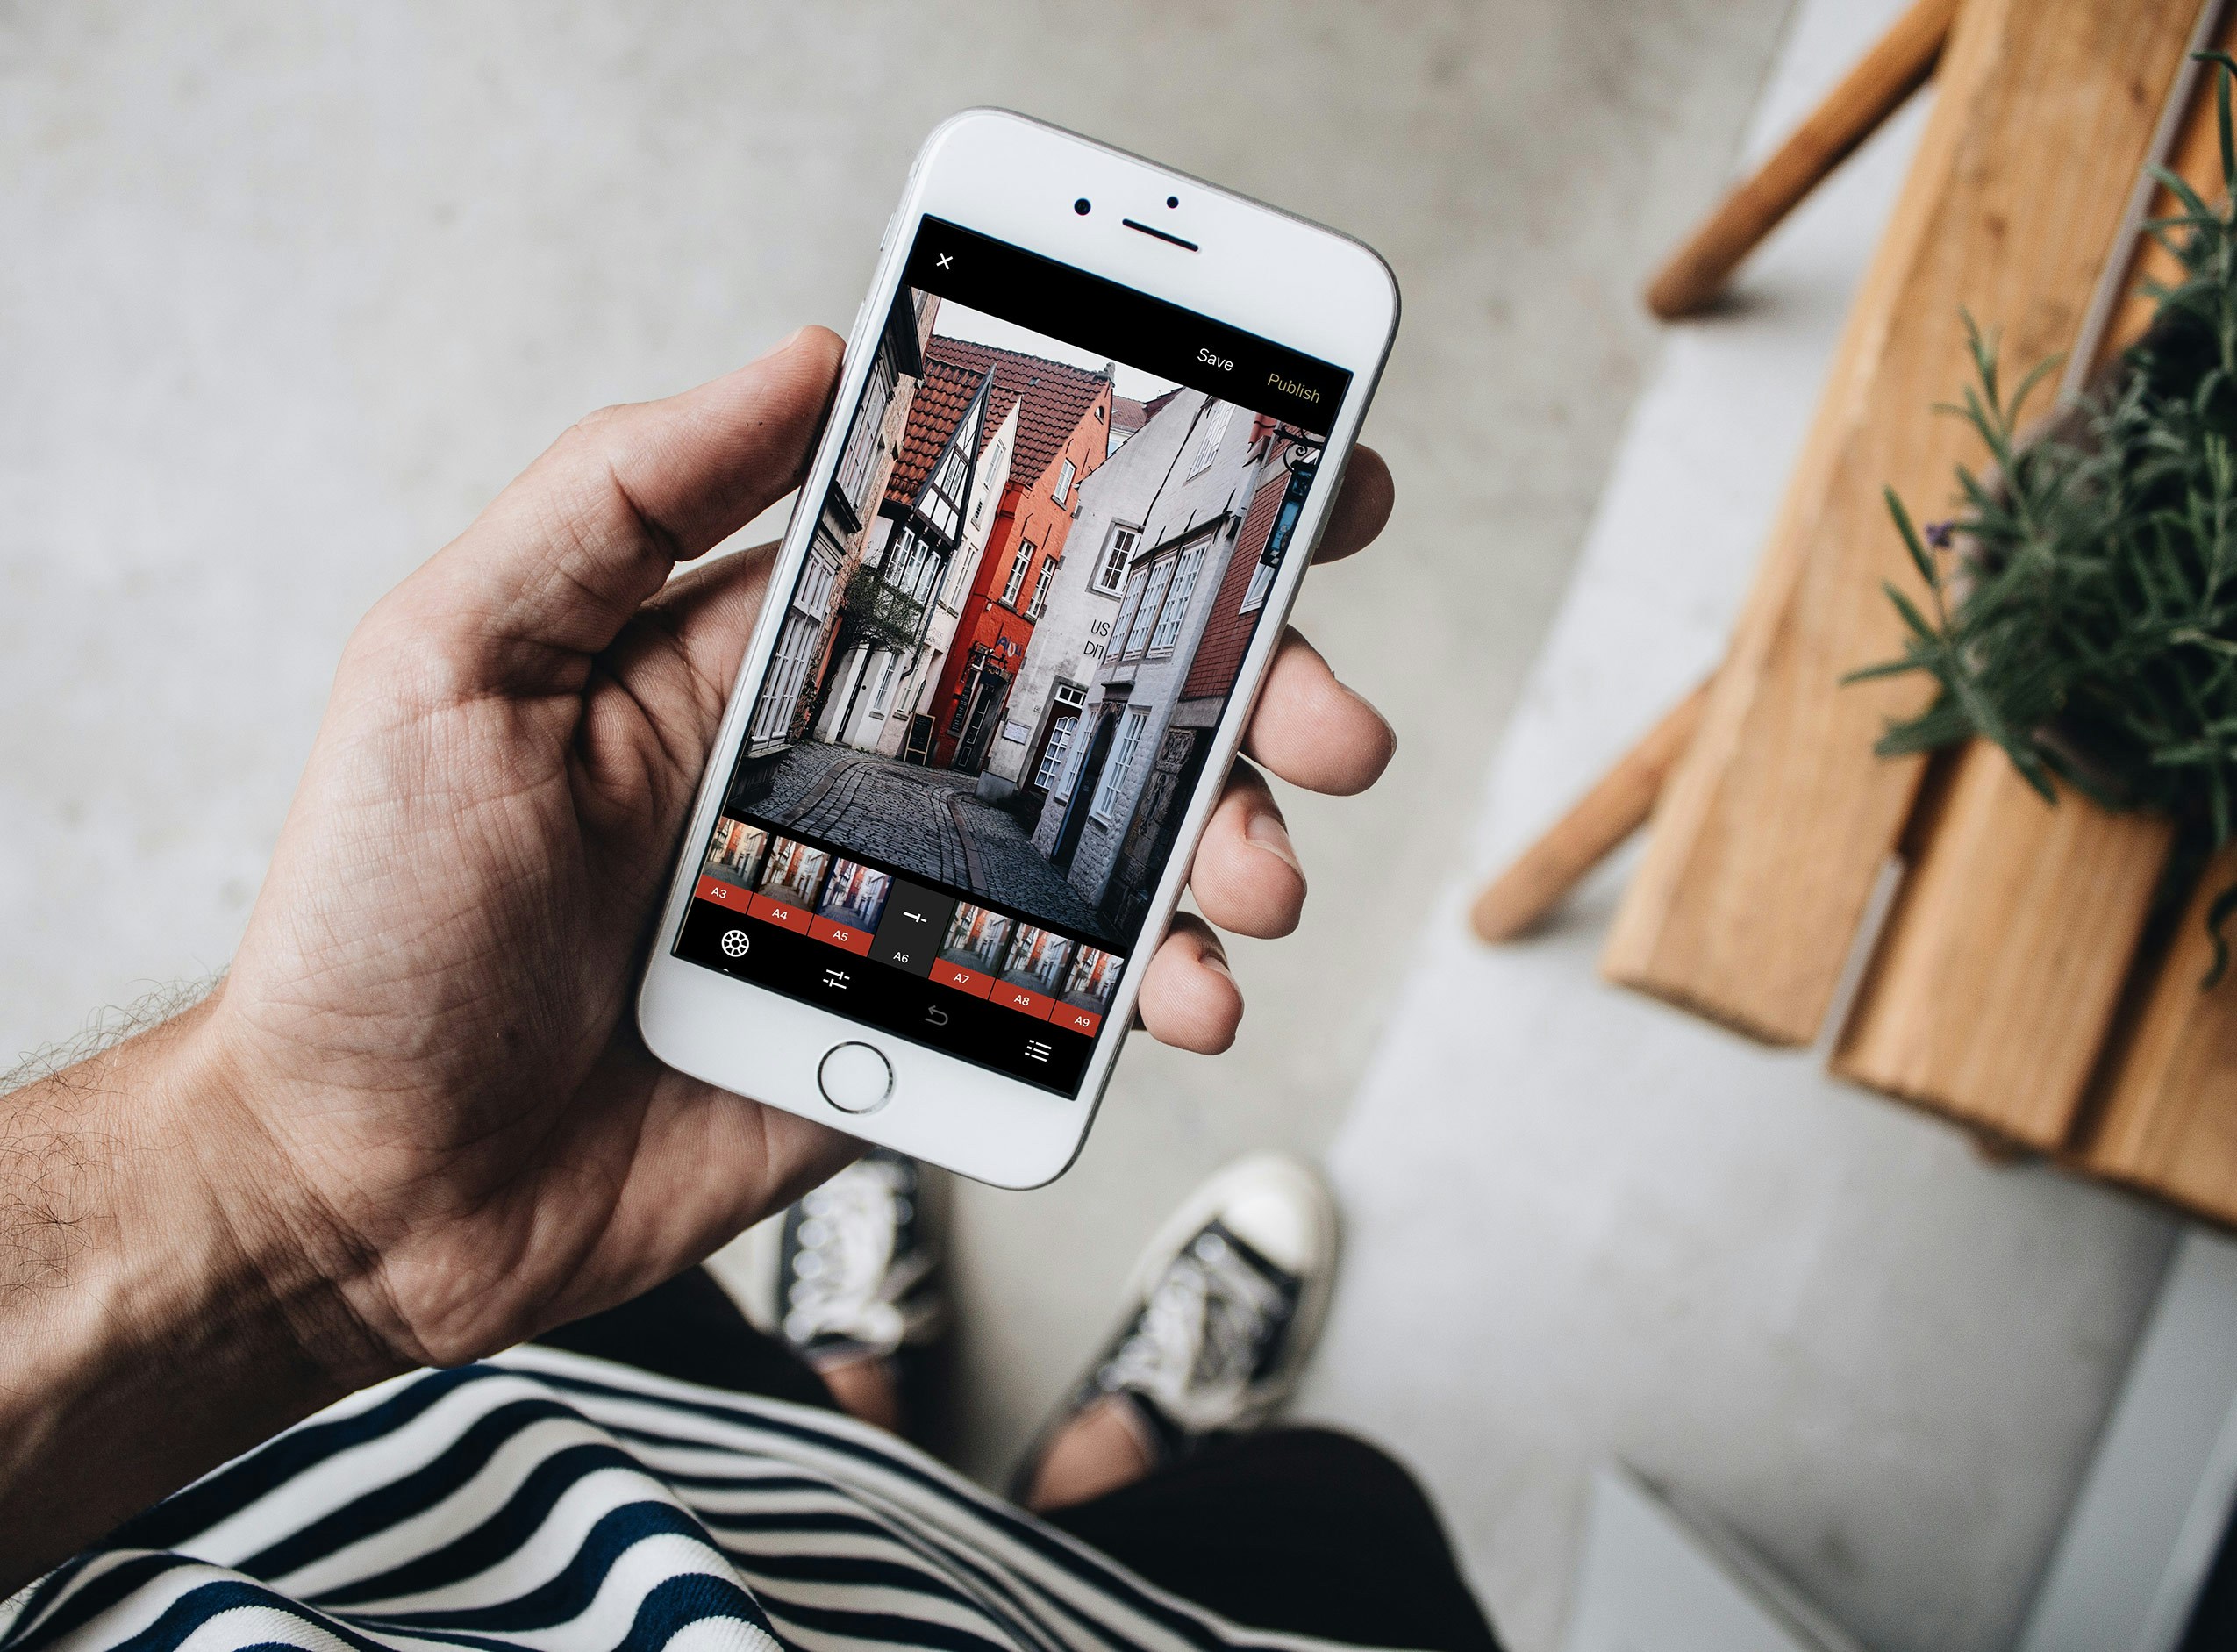
Most smartphones come with pretty powerful built-in editing tools. There are also free and paid photo editing apps that offer even more advanced features. Start with the basics and experiment to see what each editing tool does. Always remember that less is often more when it comes to editing – you want to enhance your photos, not completely change them.
Practice Makes Perfect
Taking better photos with your smartphone is all about practising and knowing your phone’s capability. By following the simple tips we’ve covered, from getting the lighting right to using editing tools wisely, you’re well on your way to capturing images that stand out. Remember, the best camera is the one you have with you, and with a smartphone in your pocket, you have a powerful tool for photography at your fingertips. Don’t be afraid to experiment with different settings, angles, and compositions. Most importantly, have fun with it!
